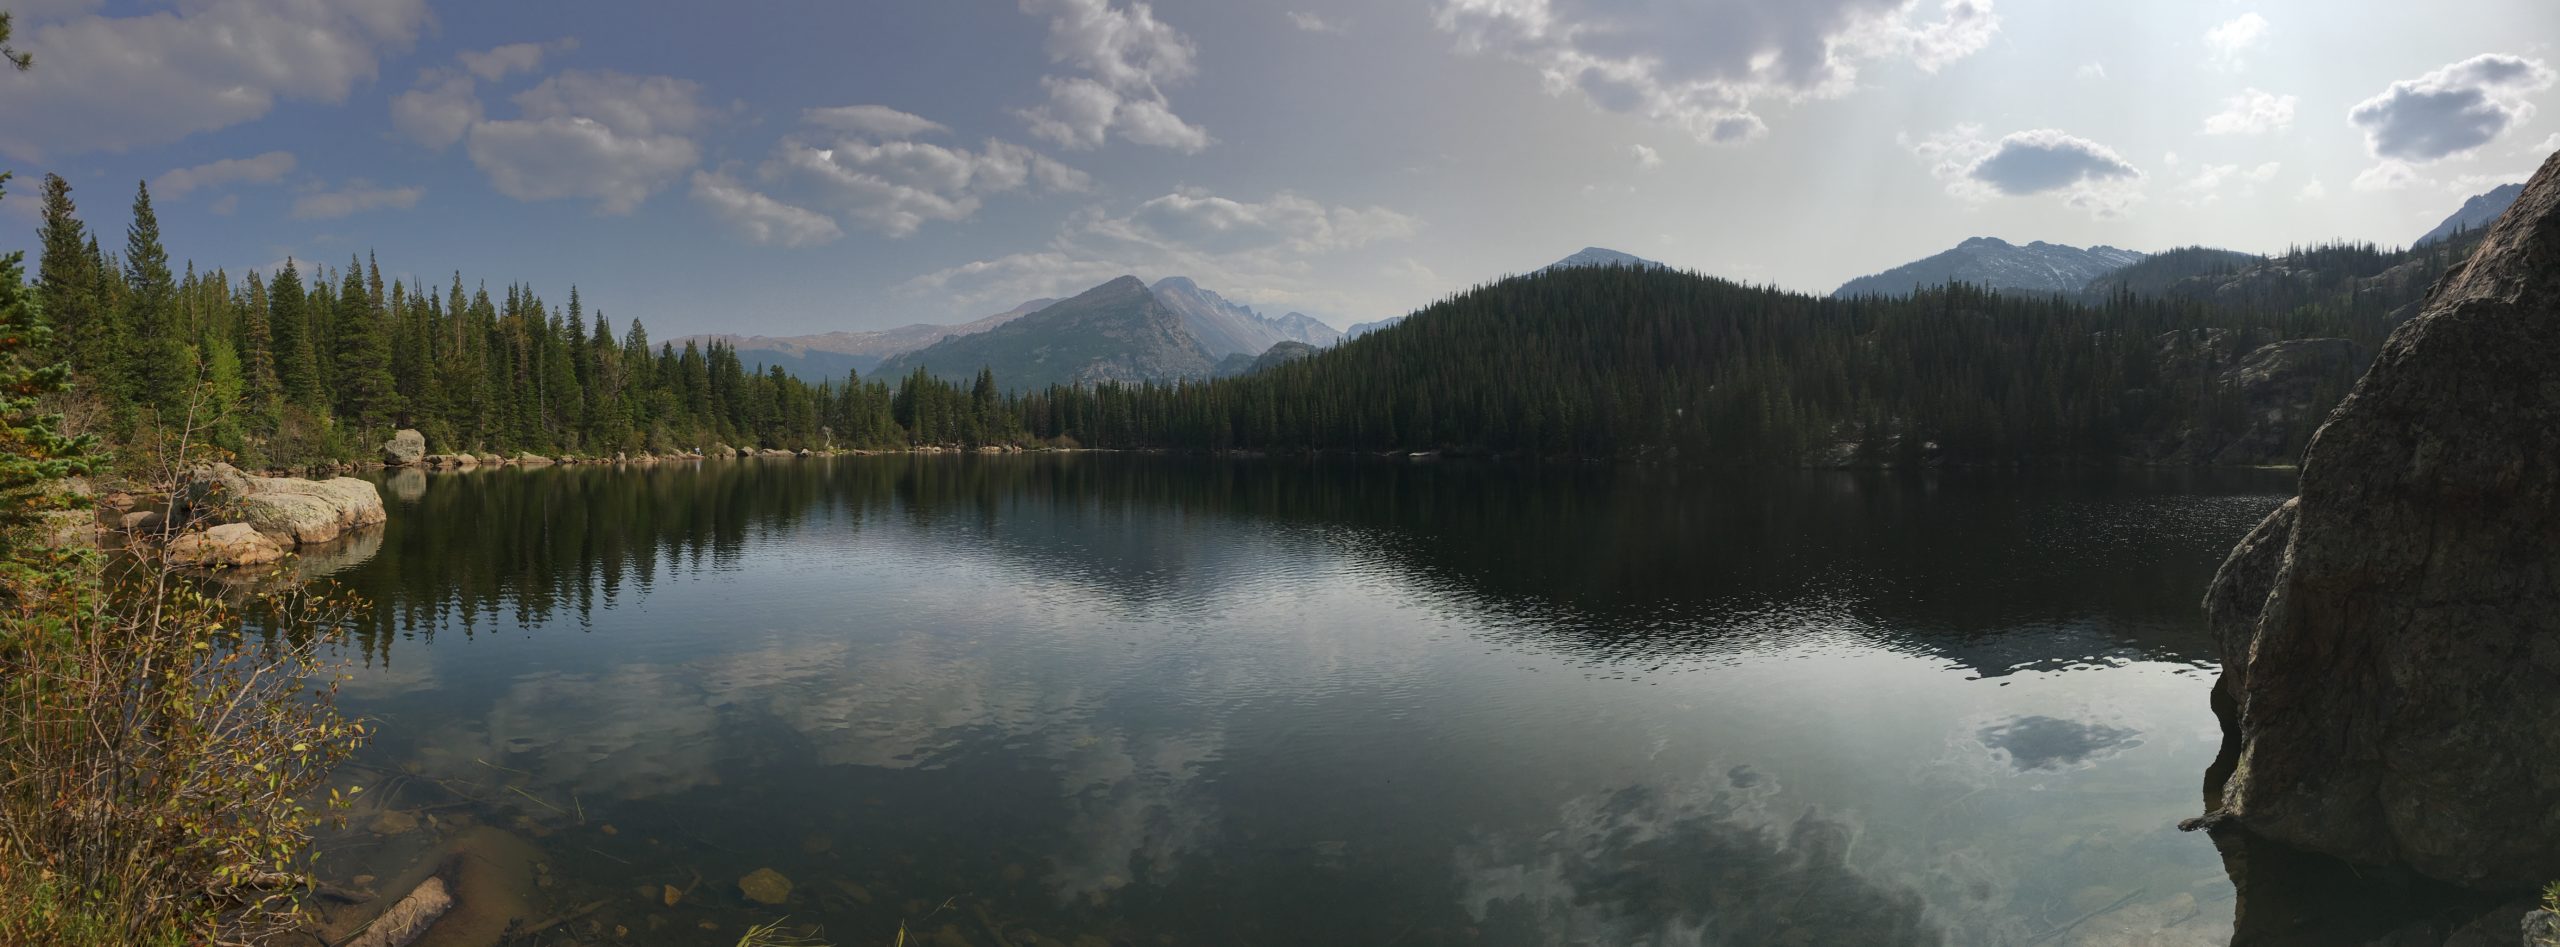
I was on vacation last week in Estes Park, Colorado, visiting the Rocky Mountain National Park. This was somehow my first trip into the mountains, even though I had visited Denver several times during college.
I was on vacation last week in Estes Park, Colorado, visiting the Rocky Mountain National Park. This was somehow my first trip into the mountains, even though I had visited Denver several times during college.
It’s been a cold, rainy week here in Manhattan, Kansas. I don’t really like cold weather at all, and I’m somewhat dreading this winter with everything indoors still being somewhat risky. I think this week was especially bad because the temperature dropped so drastically so quickly. Luckily it looks like we have more warm weather ahead.
Much of the first part of the week was spent testing the K-State Admissions Representatives app (my first Vue app!), which is still not quite ready to go. Hopefully, it will launch early next week.
Due to family events and spending all last week trying to finish a project on time, this is a shortened and delayed 2-week version of my weeknotes.
Continue reading Weeknotes 2020.08.31
Highlights from my week.
Continue reading Weeknotes 2020.08.14
My first weeknotes! I’m jumping on the bandwagon. There will probably be a few kinks I need to work out as I find a format that I like.
Continue reading Weeknotes 2020.08.07
Every year I start writing one of these end-of-the-year posts and never finish them. I decided that I’m going to finish this one, even if it is a bit late. So here is my first annual (hopefully) year in review.
A couple weeks ago I decided to replace MAMP on my MacBook with free tools for local PHP development. I didn’t find a guide online that was perfect for what I wanted, so here are the steps I used, pieced together from several other guides.
Josh Clark speaking at An Event Apart Orlando 2018 on October 10, 2018
Just as mobile defined the last decade of digital products, machine learning is set to define the next. Learn to use machine-generated content, insight, and interaction as design material in your everyday work. Refit familiar design and UX process to work with the grain of the algorithm, to help the machines solve real problems without creating new ones. This lively and inspiring talk explores the technologies and practical techniques that you can use today—like right now—not only to make existing products better but to imagine surprising new services. The challenges and opportunities of machine learning are plenty; learn to handle this powerful new design material with care and respect.
Aarron Walter speaking at An Event Apart Orlando 2018 on October 10, 2018
Design is a medium for communication, and to do it well, we must cultivate our own communication skills. Within design teams, we do our best work when we create a culture of feedback shaped by our creative space and our design review process. Beyond the design tribe, our work thrives when it’s communicated in language that aligns to the goals of the business and invites participation early and often. In this presentation, Aarron will share the experiences of real design teams at Apple, Spotify, and other organizations to show how to improve the communication of design both inside your team and with key outside stakeholders. You’ll see how to run effective design reviews and retrospectives which will help you create a culture of feedback that produces better work, helps designers sharpen their skills, and communicates the value of design by making it more transparent and inviting.
Continue reading An Event Apart: “Leveling Up Your Design Communication”